Western Glam Makeup: The Contour-First Method for Sculpted Cheekbones
Updated July 22, 2026
Most “western glam” tutorials assume a face they were never designed for. They pile on shade after shade, chase a bone structure the camera invented, and leave you looking heavier instead of more sculpted. This guide takes the opposite route. Instead of copying a look, you learn the method underneath it — so you can dial glam up for a night out or down for a Tuesday, on your own features.
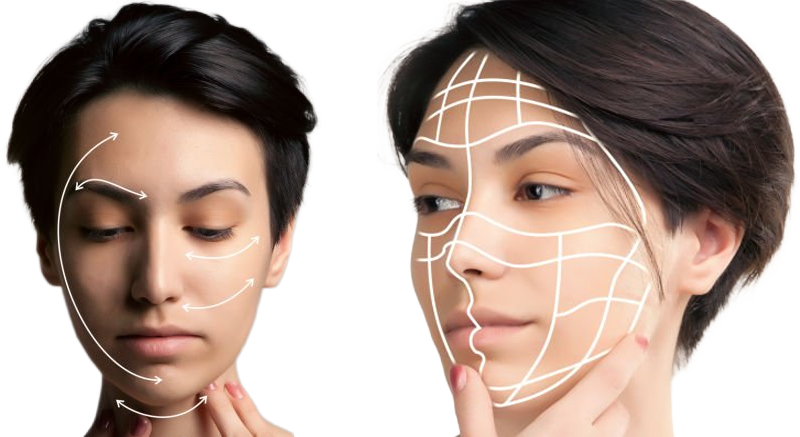
The whole system rests on one idea: controlled contrast. Glam is not more product. Glam is more intentional contrast — between light and shadow, matte and glow, soft and defined — placed exactly where your face wants it.
Want the printable, 18-chapter version? Grab the free Western Glam Makeup Guide — it has the full contour-first routine, face-shape and eye-shape maps, five color recipes, and a 30-day practice plan you can tape by the mirror.
The one idea: controlled contrast
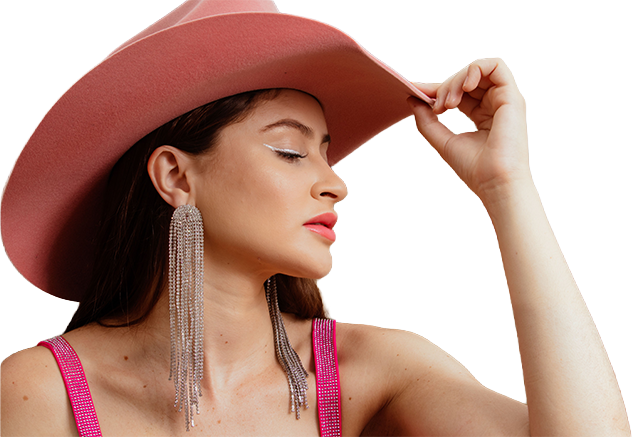
Think of your face as a surface you are lighting, not a canvas you are coloring. Every glam decision is really a contrast decision:
- Light vs shadow — where you brighten and where you carve.
- Matte vs glow — matte recedes, glow comes forward.
- Soft vs defined — a blurred edge reads natural, a crisp edge reads dramatic.
When a look feels “off,” it is almost never the wrong product. It is contrast in the wrong place, or too much of it at once. Learn to see contrast and you can fix almost anything.
The 5 dials you can actually control
Instead of memorizing looks, learn the five settings that turn any face from everyday to full glam. Every look in this guide is just a different combination of these dials.
- Coverage — from a sheer skin tint to full, camera-ready base.
- Contour depth — from a whisper of shadow to a sculpted, defined jaw and cheek.
- Eye drama — from a single wash of color to a full dimensional smoke.
- Color temperature — warm, neutral, or cool, chosen to flatter your undertone.
- Finish — matte, satin, or glass-glow.
Everyday look? Turn most dials down. Glam? Turn two or three up — never all five at once, or the face reads costume instead of polished.
Chapter 1 — Skin prep is the whole game
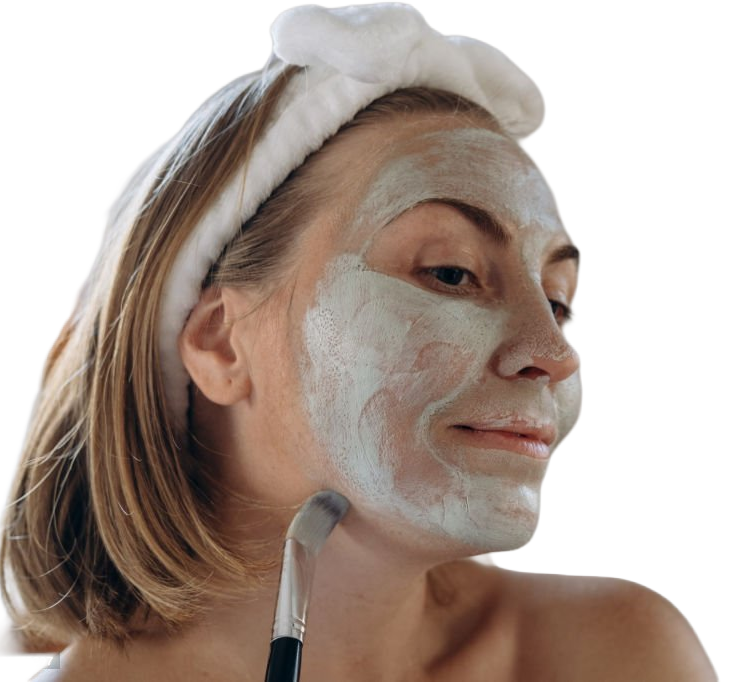 Glam lives or dies on the base. A sculpted cheekbone on dry, patchy skin looks like makeup sitting on a face; on prepped skin it looks like the face itself.
Work from the center out. Moisturizer, then a thin base, always pushed from the middle of the face toward the edges so product fades where the light naturally falls off. Five quick steps:
- Hydrate — a lightweight moisturizer, pressed in, not rubbed.
- Prime only where you need it (T-zone for grip, cheeks for glow).
- Thin base layer — build coverage, never start heavy.
- Concealer before contour (this is the trick most people skip — see below).
- Set only the areas that move or shine.
Why concealer comes before contour
If you contour first and conceal second, you erase the shadow you just placed. Flip the order: brighten the under-eye, center of the face, and any spots first, so you build your light. Then carve shadow around that light. Light first, shadow second — that is the contour-first method in one line.
Chapter 2 — The contour-first method
Contour is not “brown stripe under the cheekbone.” It is four separate jobs, and blending them together is why most contour looks muddy.
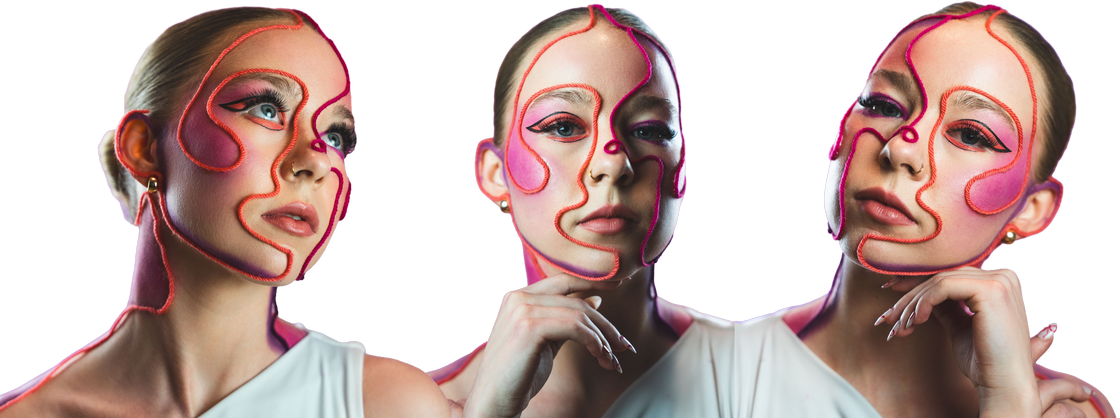 The four jobs of contour, painted directly on the face: carve the hollow, slim the sides, frame the perimeter, warm under the jaw.
Separate the four tasks:
- Carve — the hollow under the cheekbone (angle it toward the top of the ear, never toward the mouth).
- Slim — the sides of the nose and the jaw’s edge.
- Frame — the perimeter of the forehead and hairline.
- Warm — a touch under the jaw so the face connects to the neck.
Temperature matters more than depth
A too-warm (orange) contour reads like bronzer and flattens the face. For a true shadow, pick a contour one to two shades deeper than your skin with a cool or neutral cast — shadows in real life are cool, not orange. Save warm bronzer for glow, not for carving.
The three-layer rule
Build contour in three thin passes instead of one heavy line:
- Place — a light first pass to map where shadow goes.
- Build — a second pass only in the deepest point of the hollow.
- Blur — a clean brush to melt every edge so there is no visible start or stop.
Chapter 3 — Brows and dimensional eyes
Brows frame everything. Aim for a soft, curved peak rather than a hard block — a rounded arch flatters most faces and keeps a glam eye from looking severe.
For the eyes, “dimensional” beats “dark.” A flat black lid is not glam; it is a hole. Build depth instead:
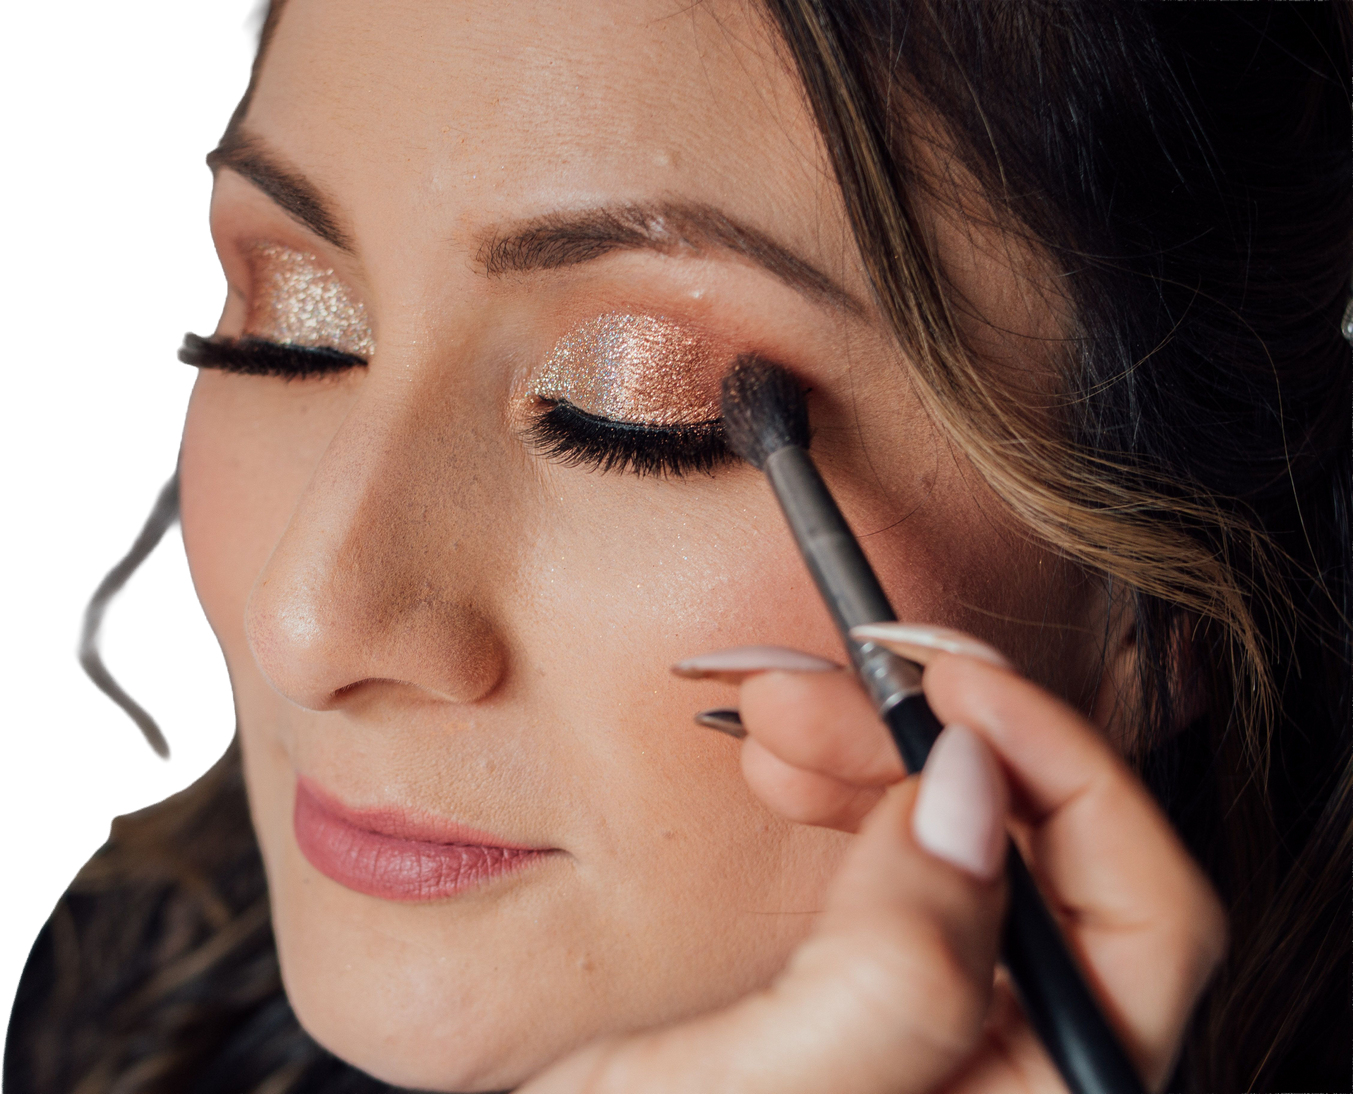 Every dimensional eye starts with one transition shade in the crease — the gradient is what reads as depth.
- Transition — a mid-tone in the crease to create a gradient.
- Lid — your main color, packed on the mobile lid.
- Outer V — the deepest shade in the outer corner only, to pull the eye up and out.
- Inner light — a shimmer or light shade on the inner corner to open the eye.
Chapter 4 — Adapt it to your eye shape
The same technique lands differently on different eyes. Read your shape, then adjust where the depth goes:
- Monolid — keep color slightly above the lash line so it shows with eyes open; build a soft smoke that reads with the eye open, not just closed.
- Hooded — place the crease color above your natural crease so it is visible; keep the mobile lid cleaner.
- Downturned — lift the outer V upward, never let it drop past the corner.
- Round — elongate with an outer-corner focus to add length.
- Almond — the flexible one; most placements work, so play.
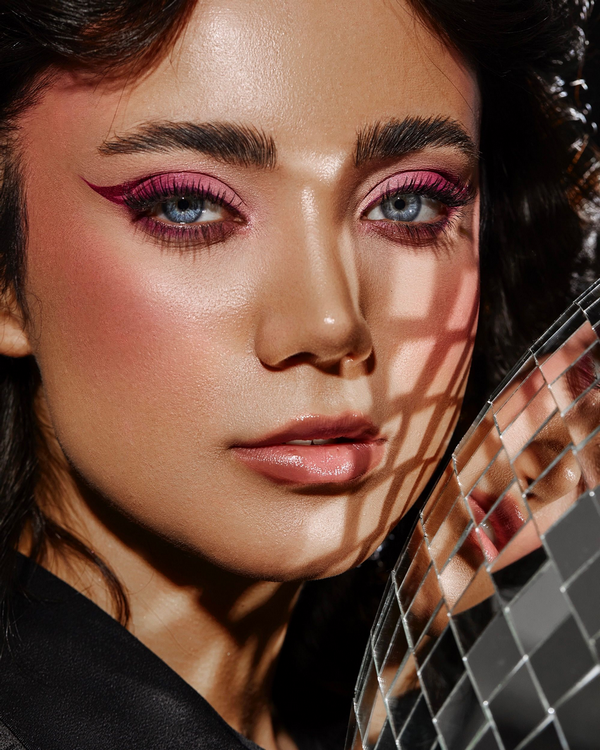 The payoff: the same method, applied to Asian features, reads as editorial dimensional glam — not imitation.
Chapter 5 — Color that flatters your undertone
Skip the trend colors and start with your undertone. Warm undertones glow in peach, bronze, terracotta, and warm browns. Cool undertones come alive in rose, mauve, plum, and taupe. Neutral undertones can borrow from both.
The rule: pick a family, then vary depth and finish inside it. A monochrome look in the right family beats a rainbow in the wrong one.
Five color recipes to steal
Each recipe is a family, not a single product — swap in what you own.
- Soft Bronze (warm) — champagne lid, warm brown crease, bronze glow. The safest daily-glam.
- Rosy Mauve (cool) — pink-champagne lid, mauve crease, plum outer V. Flattering on almost everyone.
- Terracotta (warm) — peach lid, terracotta crease, brick liner. Modern and editorial.
- Smoky Taupe (neutral) — taupe wash, deeper taupe smoke, no black. Grown-up smoke without the harshness.
- Plum Night (cool) — mauve lid, plum crease, deep aubergine outer V. Full evening drama.
Chapter 6 — Lips, setting, and the daylight test
For a lifted mouth, overline three points — the peaks of the cupid’s bow and the center of the lower lip — not the whole lip. It reads as fuller lips, not drawn-on ones. Match the lip to the eye’s intensity: strong eye, softer lip, and vice versa.
Set only what moves or shines, then run the daylight test: step to a window. If anything looks chalky, powdery, or grey in real daylight, blend it back. Camera light lies; a window does not.
Everyday vs full glam: the same face, two dials
Here is the payoff of learning the method — one routine, two intensities.
Everyday (5 dials down): sheer base, a whisper of cool contour, one transition + lid shade, warm-neutral color, satin finish. Ten minutes, looks like you on a good day.
Full glam (2–3 dials up): fuller base, built contour with a defined hollow, a complete dimensional eye with outer V, a chosen color recipe, glass-glow highlight. The bone structure is the same — you just turned up contrast.
The 30-day practice plan (short version)
You cannot rush hand skill, but you can shortcut it. The full guide breaks this into a 30-day plan; the essentials:
- Week 1 — base and contour placement only. No eyes. Master light-then-shadow.
- Week 2 — add the three-layer contour and the daylight test.
- Week 3 — dimensional eyes, one color recipe at a time.
- Week 4 — full looks, then build your own everyday-vs-glam pair.
Ready for the full 18-chapter version? Download the free Western Glam Makeup Guide — face-shape and eye-shape maps, all five color recipes with swatches, the eight “muddy makeup” fixes, and the complete printable routine.
Western glam makeup FAQ
Does western glam makeup work on Asian features?
Yes — that is exactly what the contour-first method is built for. Instead of forcing a look designed for deep-set eyes and high nose bridges, you place light and shadow to suit your features: contour that carves your cheekbone angle, eye placement that shows with the eye open, and colors chosen for your undertone.
What is the difference between contouring and bronzing?
Contour is a cool-toned shadow that carves structure (under the cheekbone, jaw, sides of the nose). Bronzer is a warm-toned glow that adds warmth where the sun hits (tops of cheeks, forehead, nose). Using bronzer to carve is why so much contour looks orange and flat.
How do I make glam makeup last all day?
Thin layers, set only where you move or shine, and prep well. Heavy layers slide and crease; thin, well-placed layers move with your skin. A light setting spray after powder locks it without going cakey.
Can I do this with drugstore products?
Completely. The method is about placement, not price. A neutral contour, a taupe or mauve palette, one cream blush, a setting powder, and a nude-rose liner will build every look in this guide.
The point is never a flawless, filtered face. It is understanding contrast well enough that you can sculpt your own features — glam when you want it, quietly polished when you do not.
Get the Western Glam Makeup Guide PDF
An 18-chapter printable guide to the Contour-First Method: sculpted cheekbones, dimensional eyes, and a glam-vs-everyday version of every look. Free when you join the list.
- The Contour-First Method + the 5 dials you can control
- Face-shape & eye-shape maps, 5 color recipes, a 30-day plan
- Printable A4 / Letter — the full glam and everyday routines
New here? See how email subscription works →